¶ Overview
To install the MultiPortal WHMCS Module, please follow these steps.
¶ Install WHMCS Module
Install the MultiPortal WHMCS Module into your WHMCS Directory (/modules/servers directory)
git clone https://github.com/multi-portal/whmcs-multiportal.git /your_whmcs_installation_directory/modules/servers/multiportal
Or download the WHMCS module from https://github.com/multi-portal/whmcs-multiportal and copy to the /modules/servers/ directory using your prefered FTP client.
¶ Setup MultiPortal API Access
- Log into your MultiPortal instance and browse to Settings > API Clients
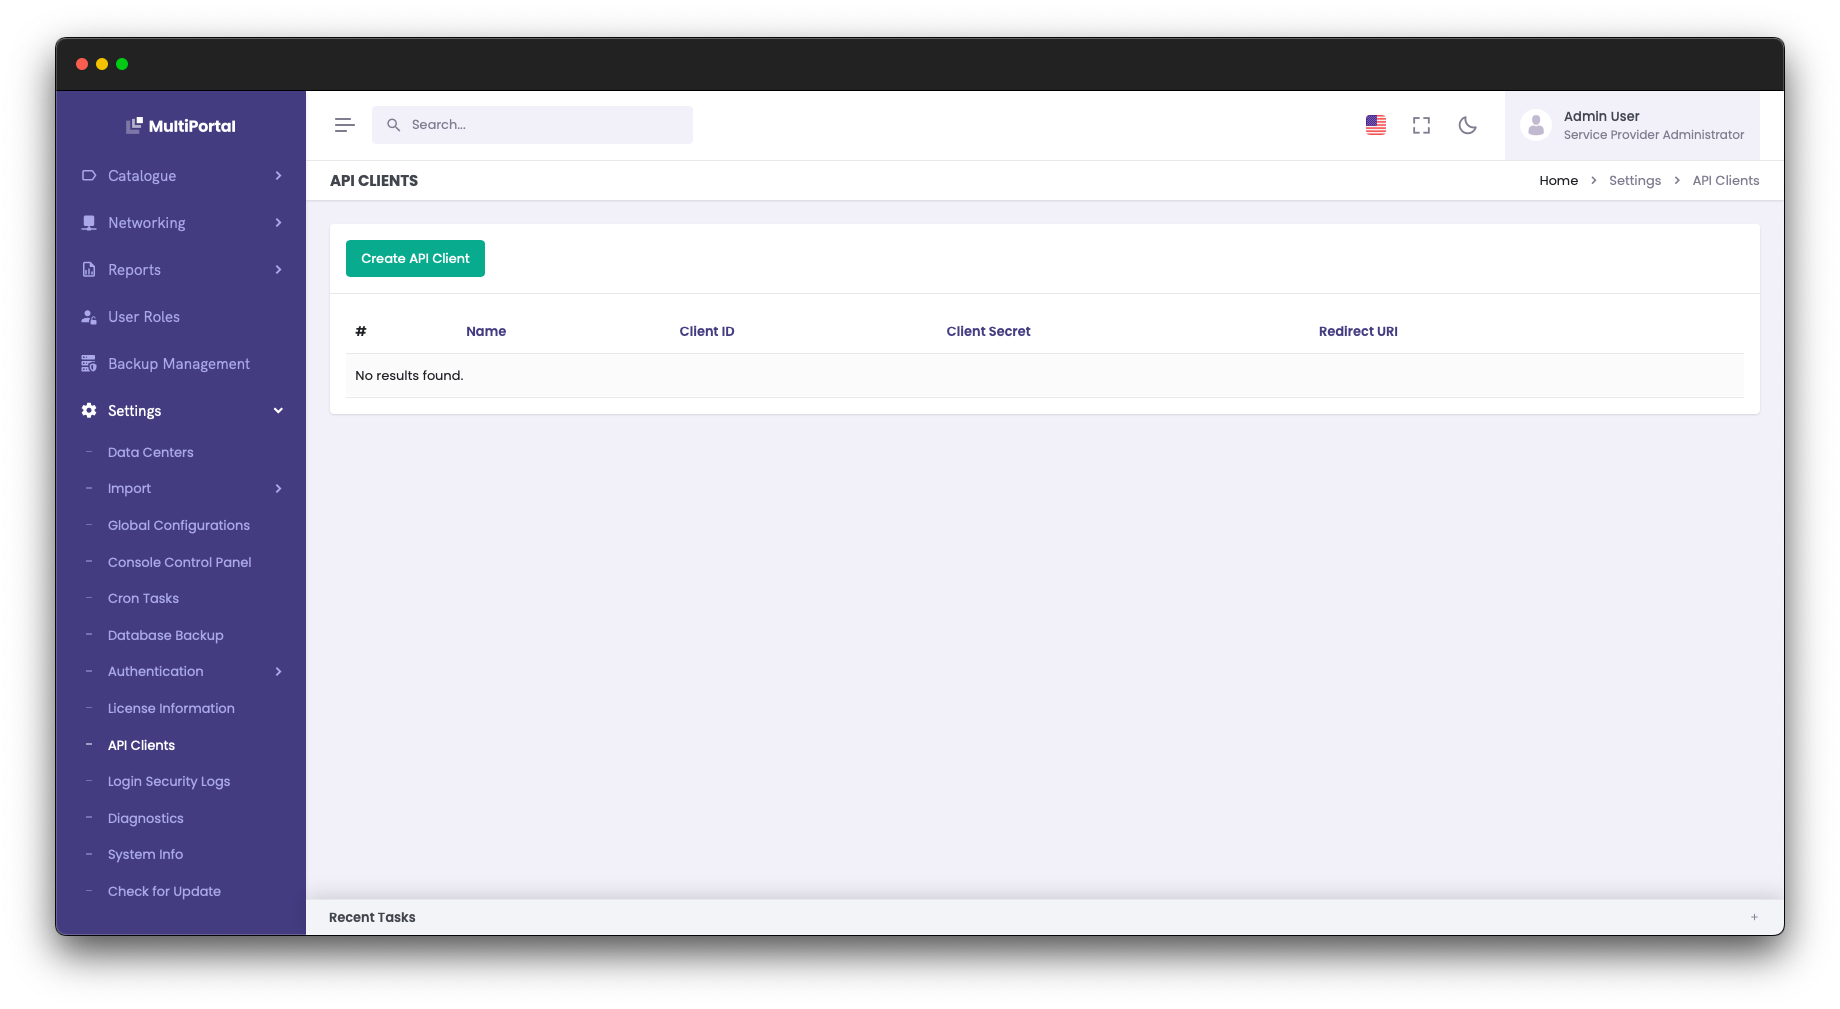
- Click "Create API Client" and enter a name for the API Client. Leave the Redirect URI as "/".
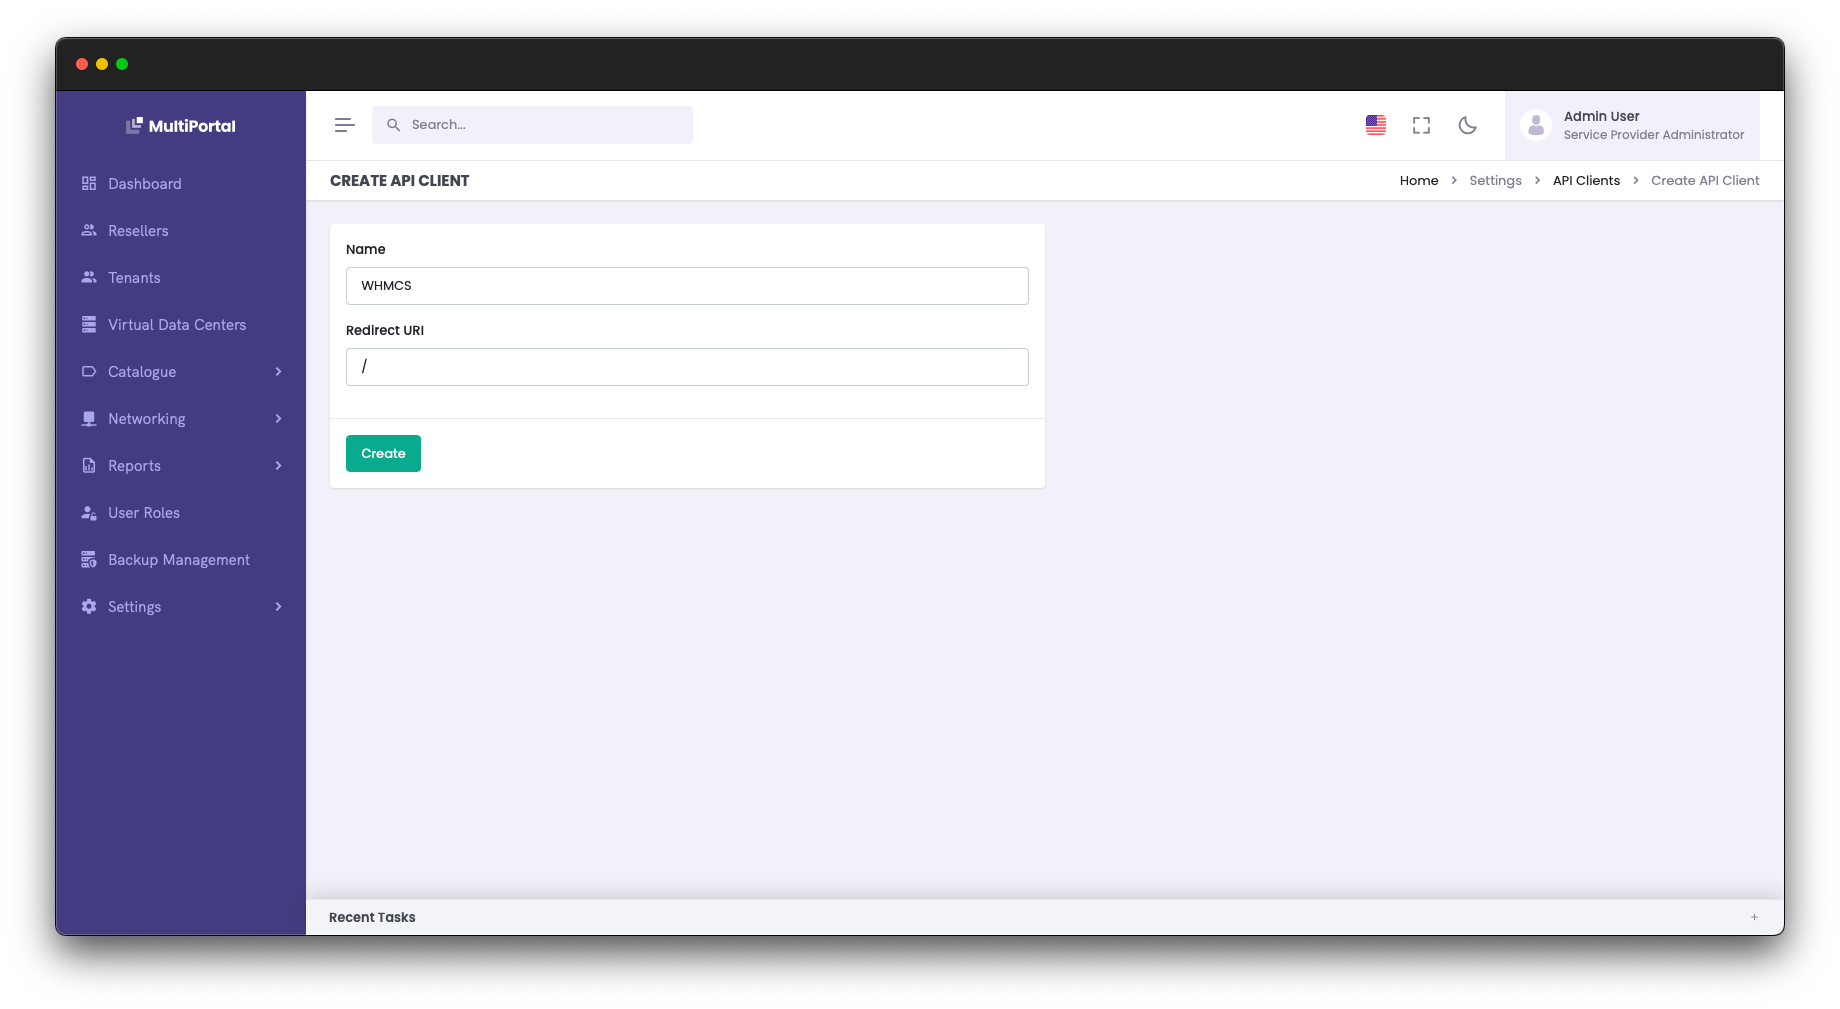
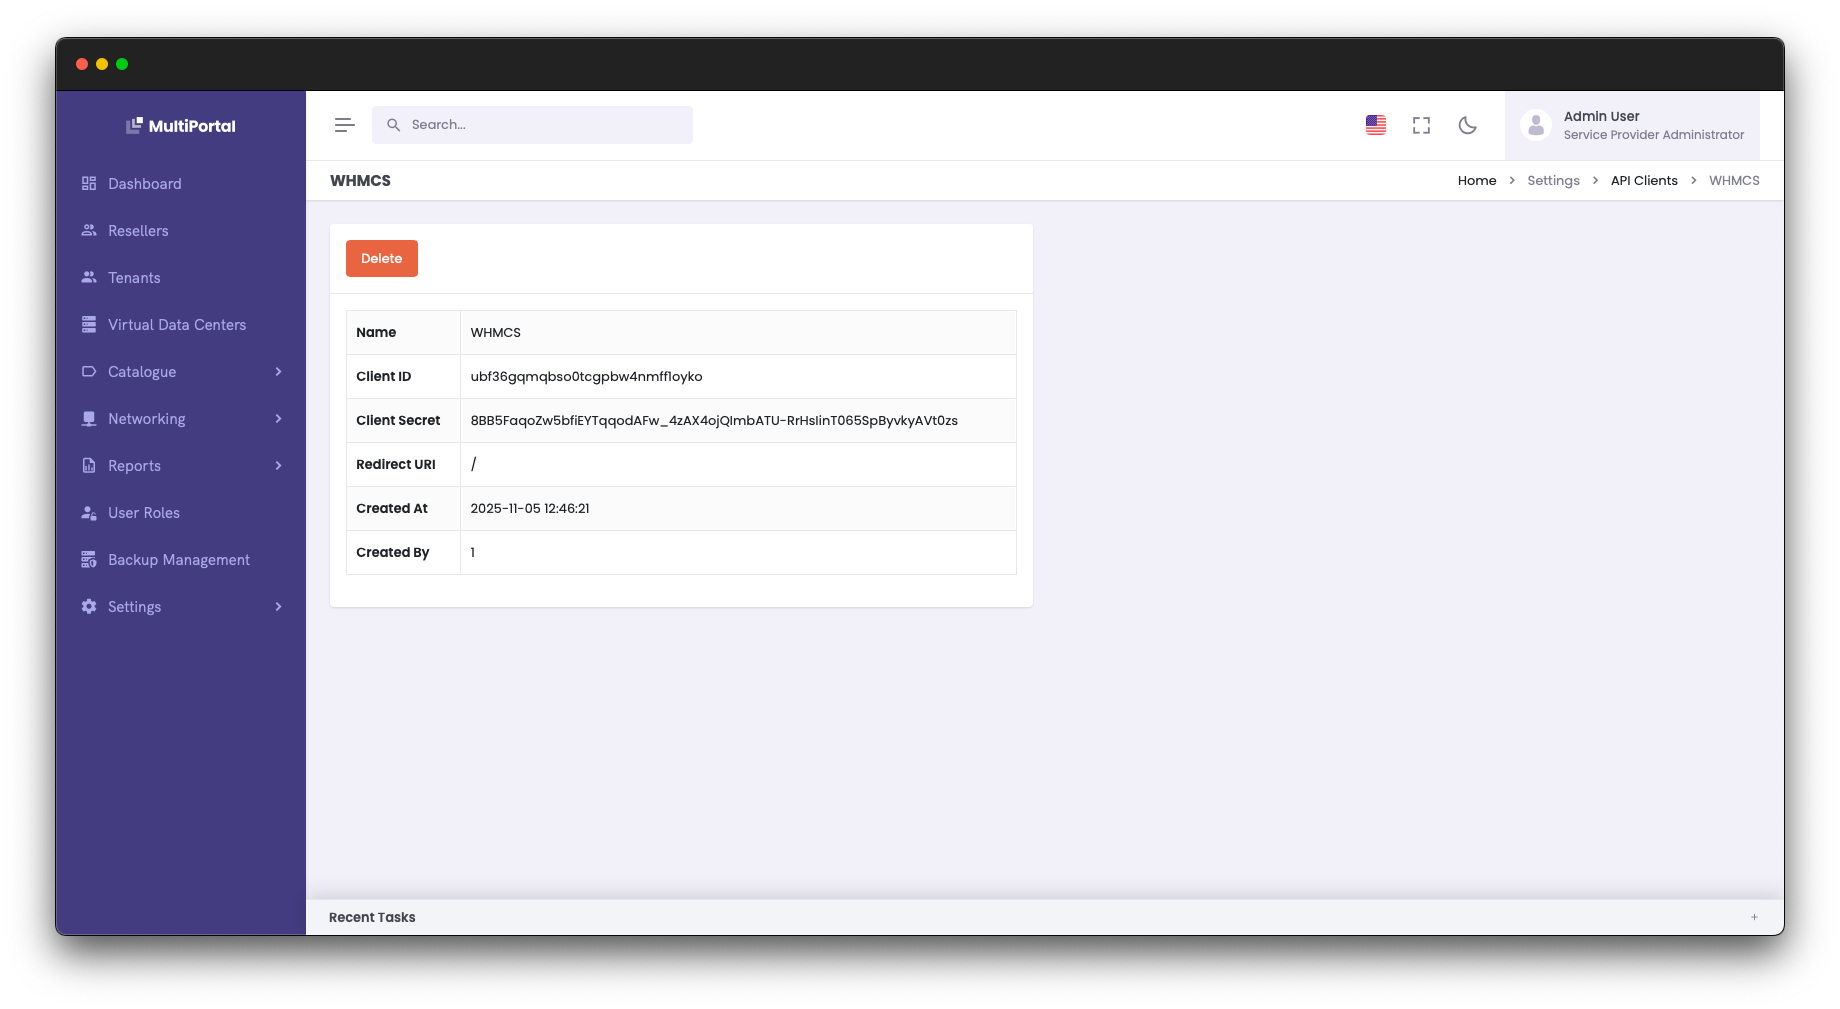
- Click "Create" and note down the "Client ID" and "Client Secret" as these will be needed in the next step.
¶ Configure WHMCS Module
¶ Add Server
- Log in as an Administrator into your WHMCS instance via the WebUI.
- Browse to Configuration -> System Settings -> Servers
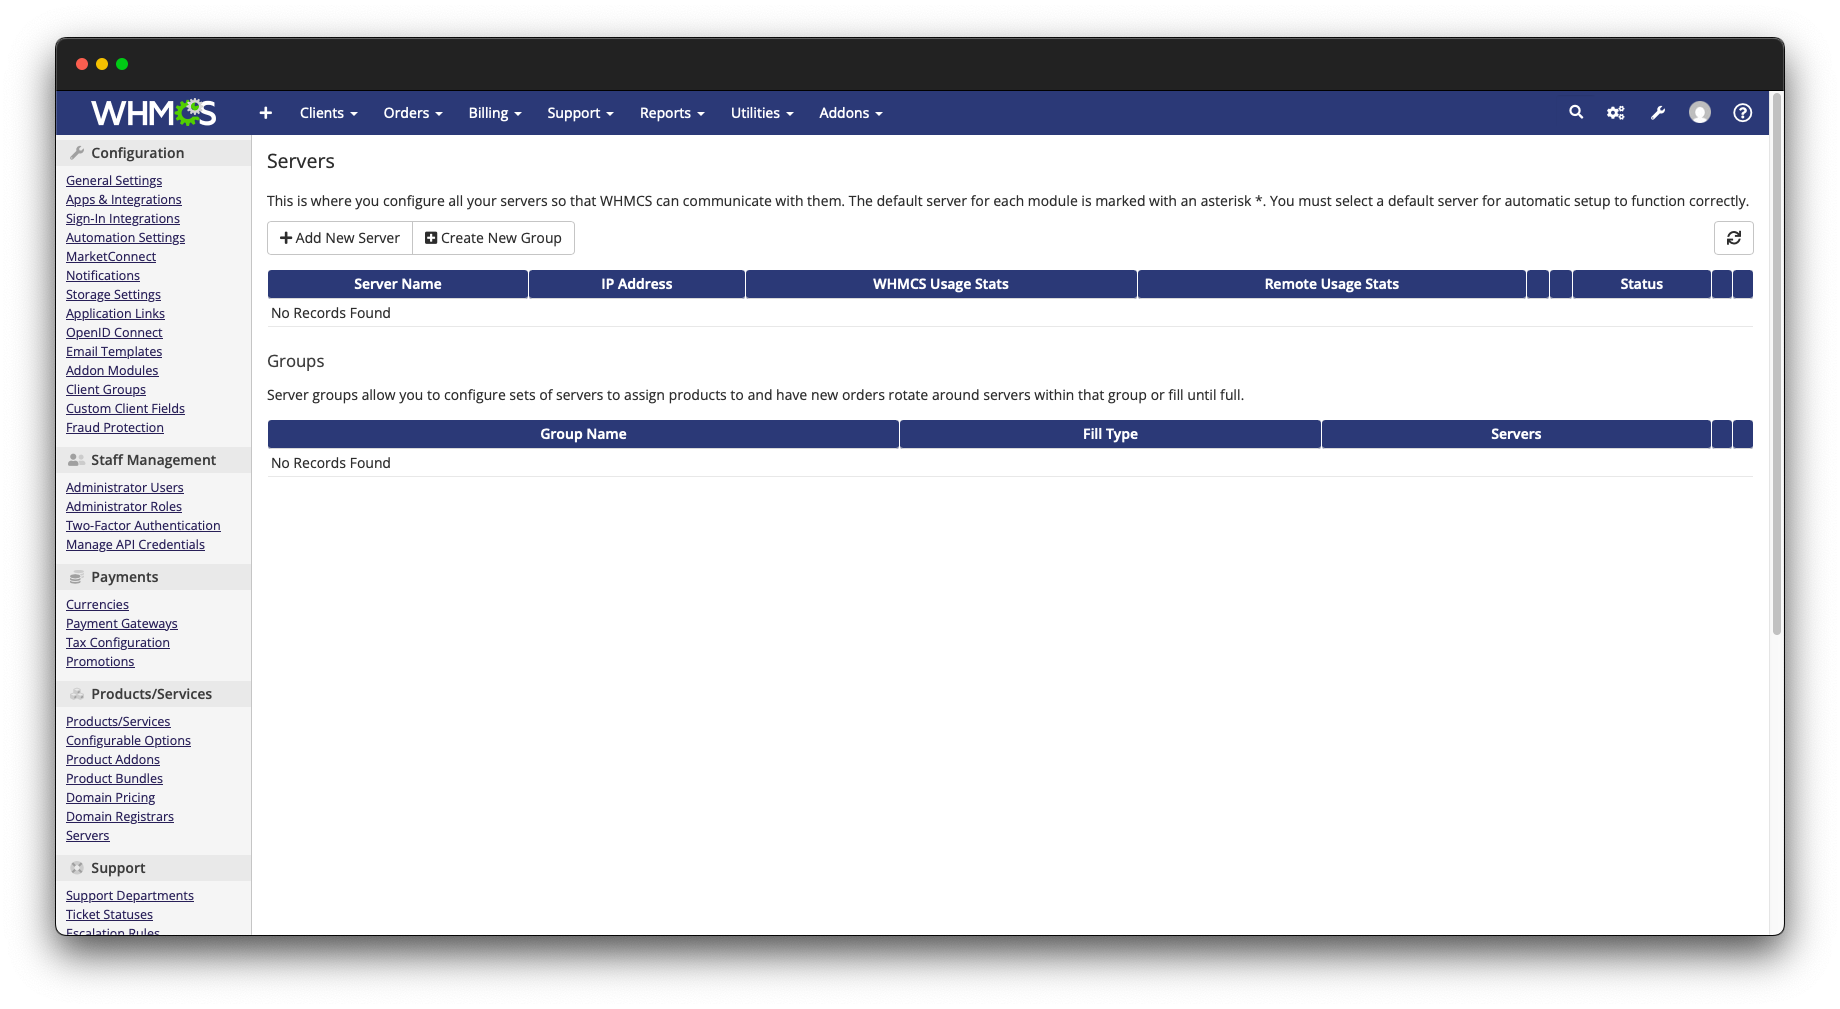
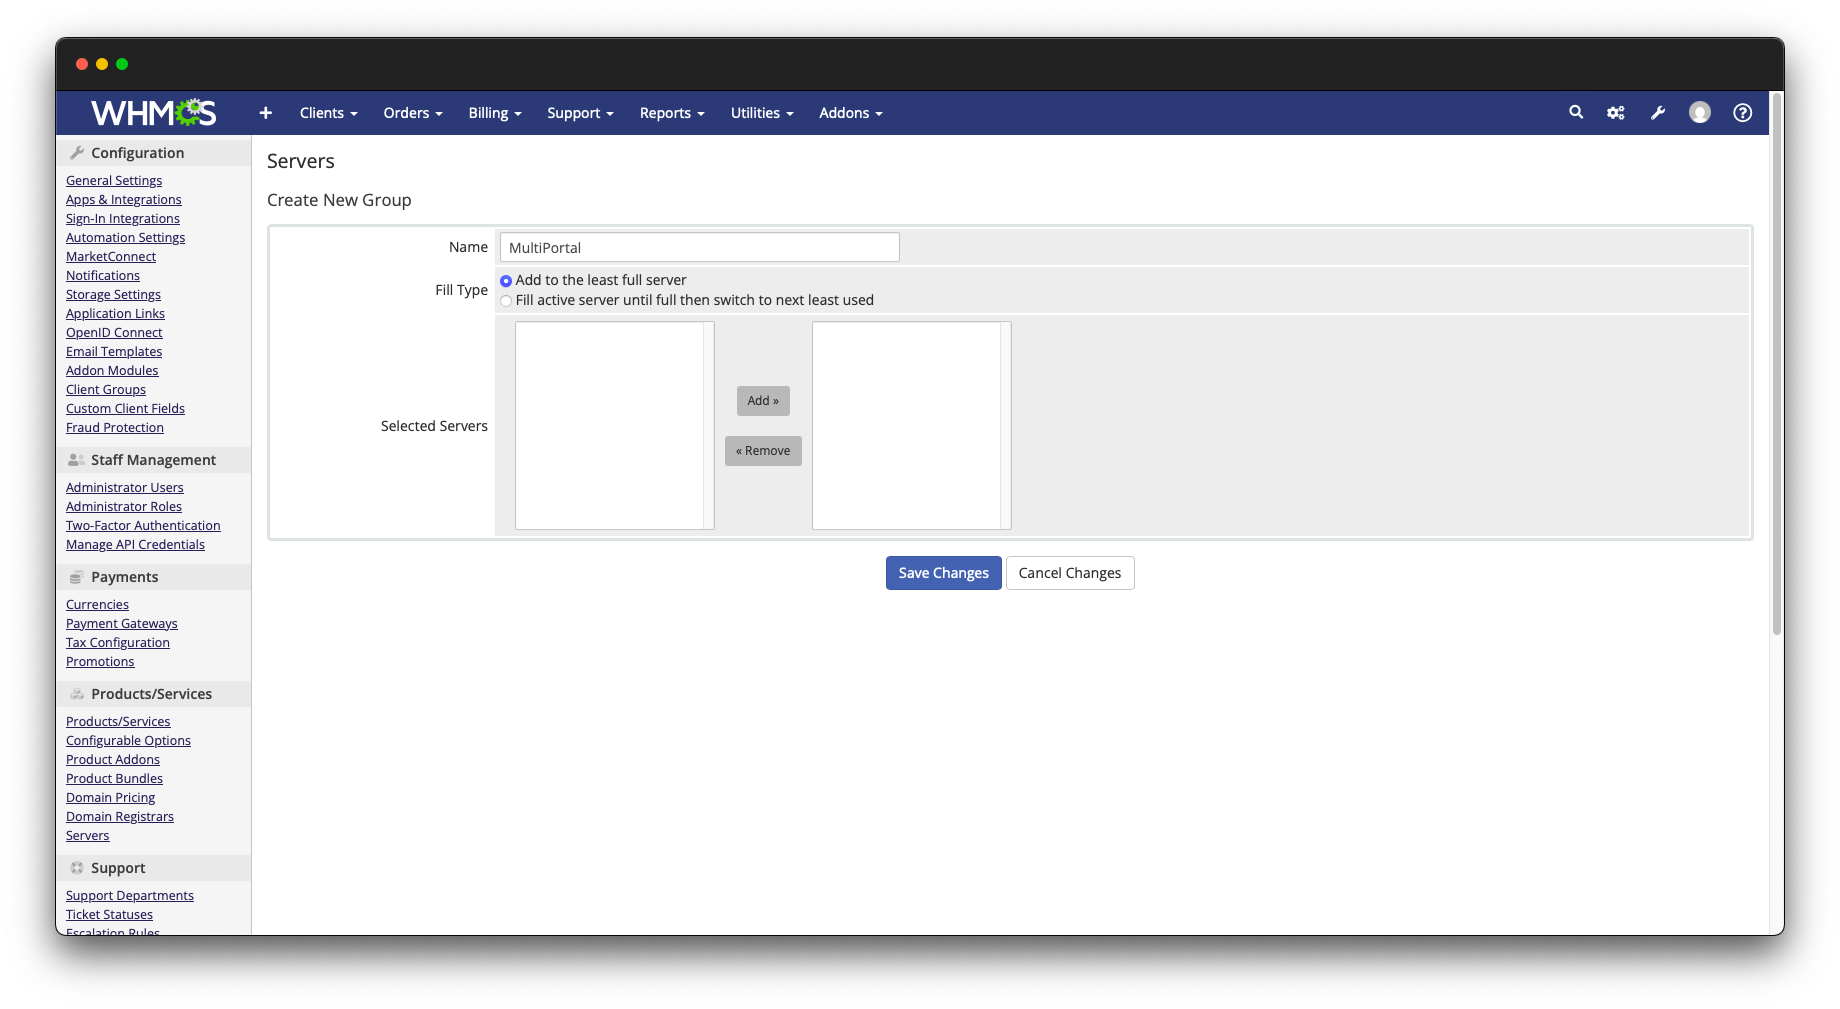
- Click "Create New Group"
- Name the Server Group as you prefer and click "Save Changes". There is no need to change any other settings on this page.
- Now click "Add New Server"
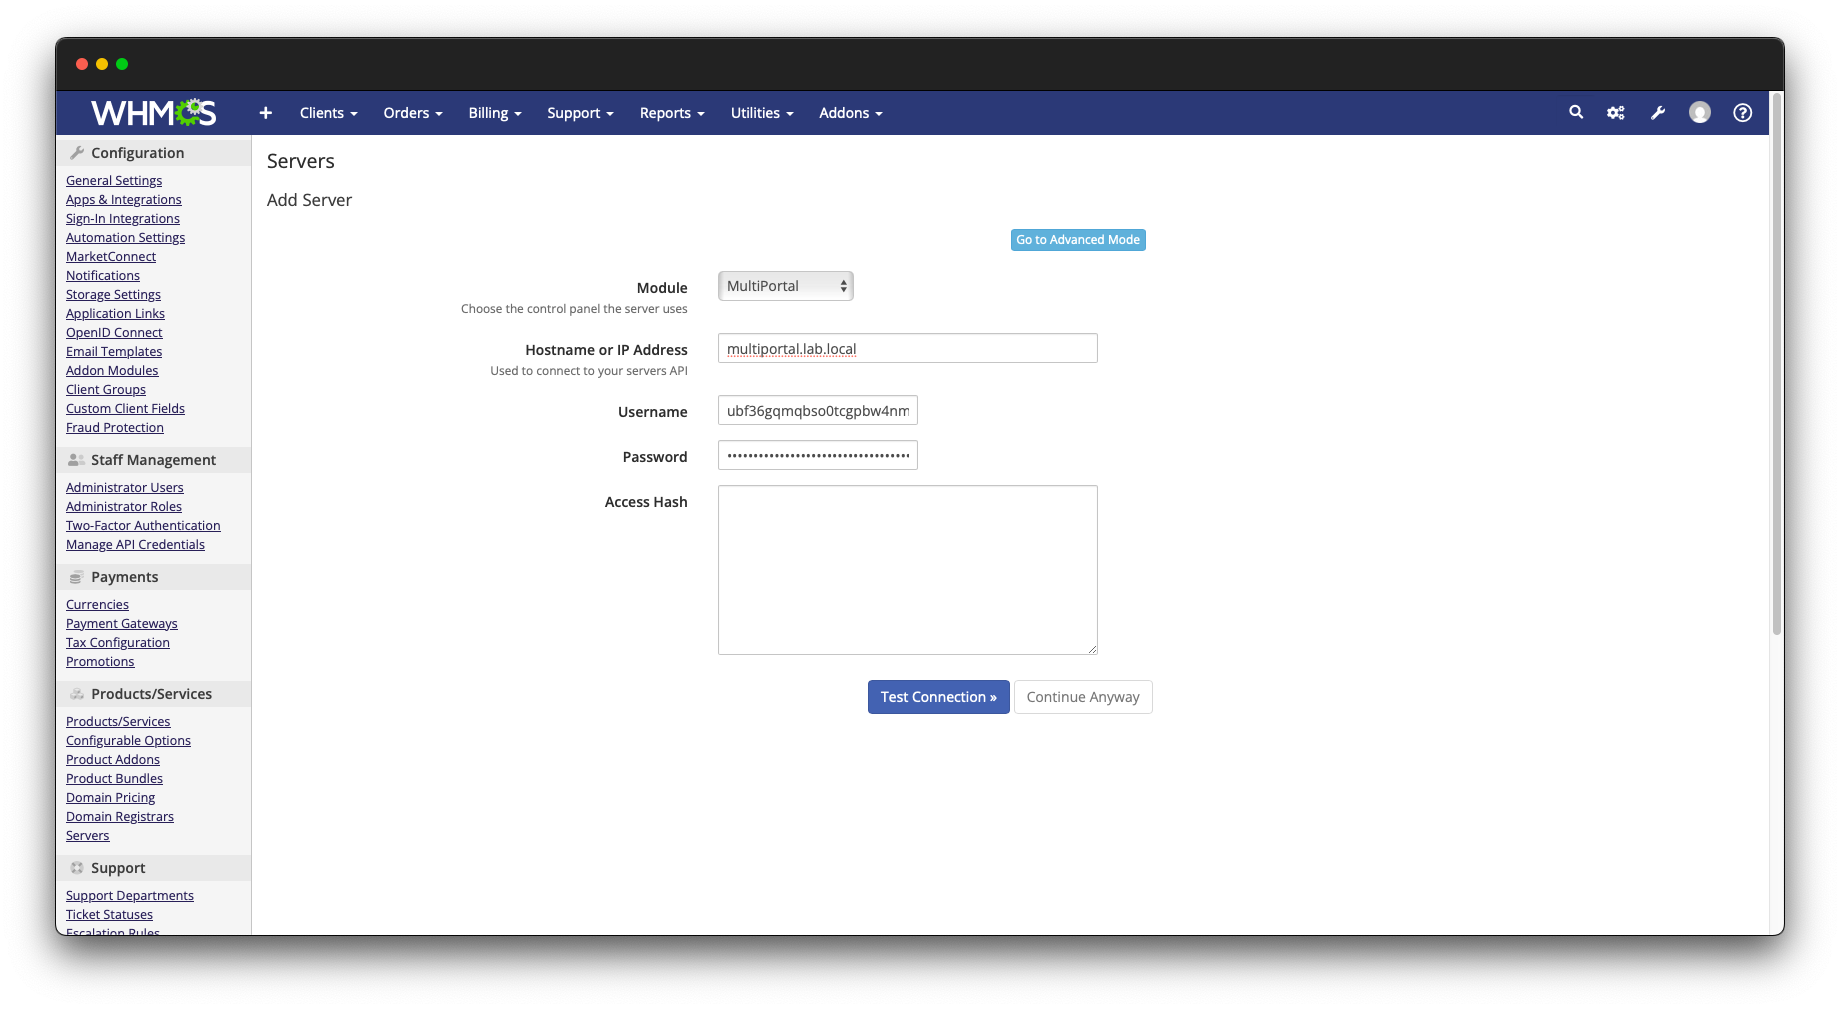
- Select the Module as "MultiPortal"
- Hostname or IP Address: The hostname of your MultiPortal instance
- Username: Your Client ID you created in the previous section
- Password: Your Client Secret you created in the previous section!
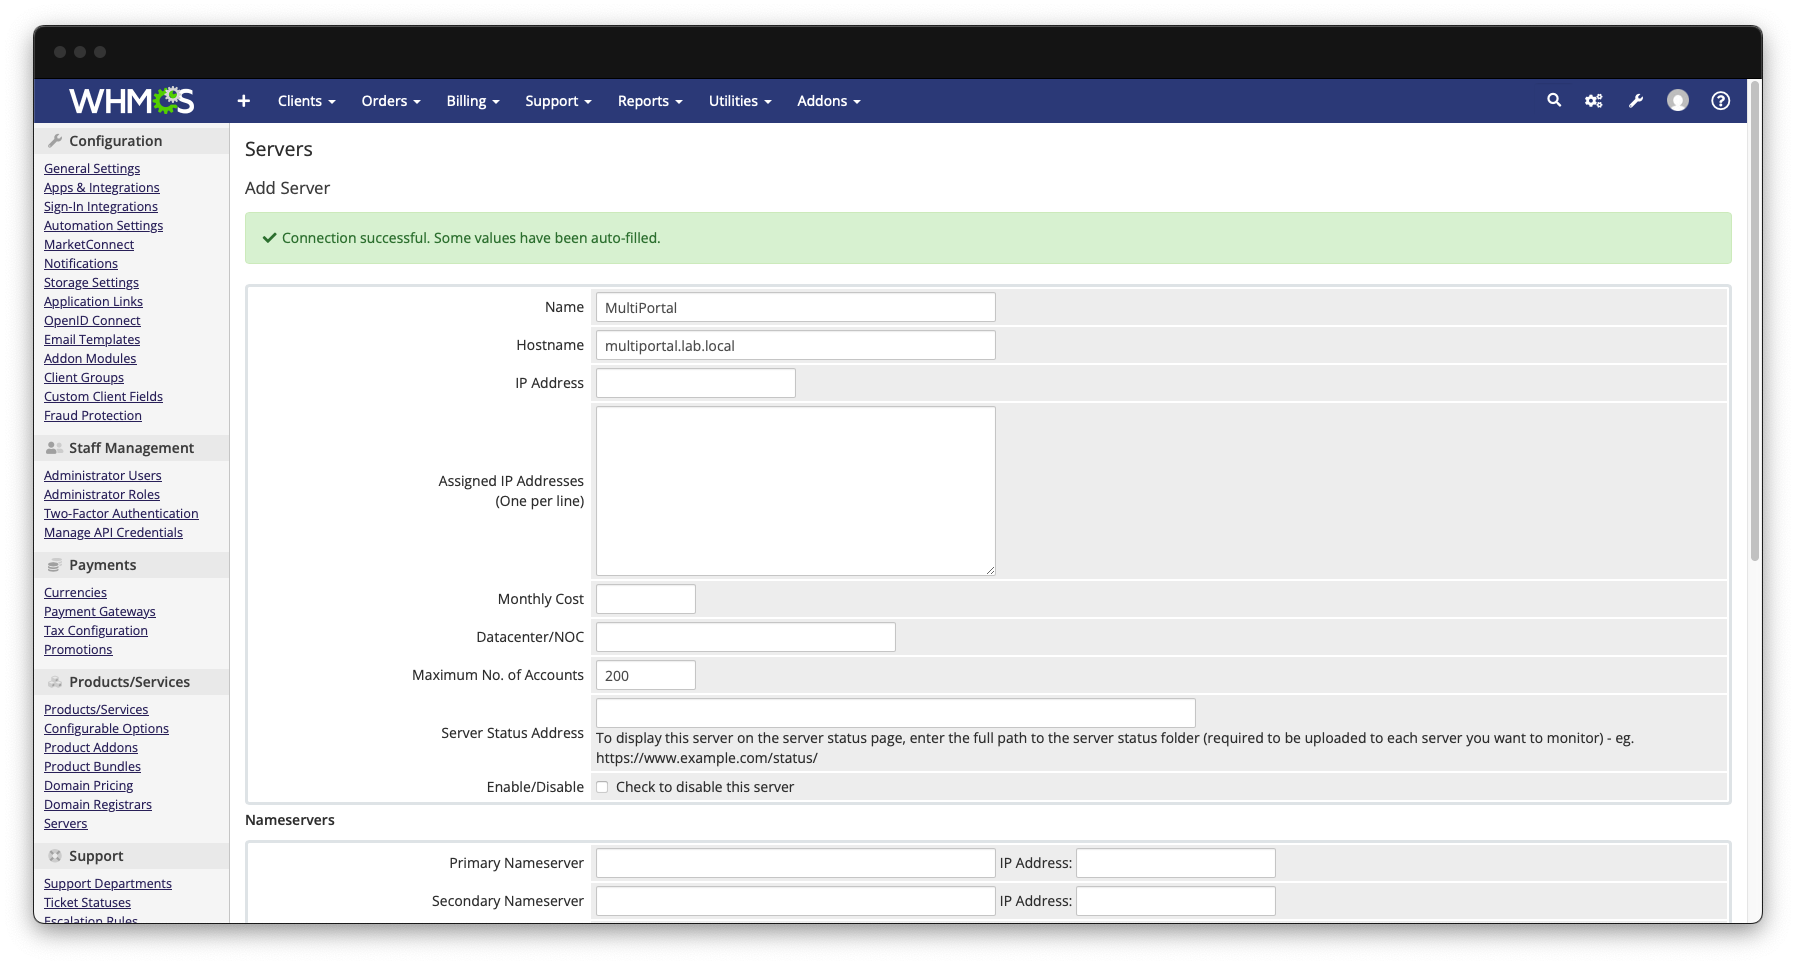
- Click "Test Connection" and the page will update. Enter a "Name" for the server and then scroll down and click "Save Changes"
¶ Add Product
- Browse to Configuration -> System Settings -> Product/Services
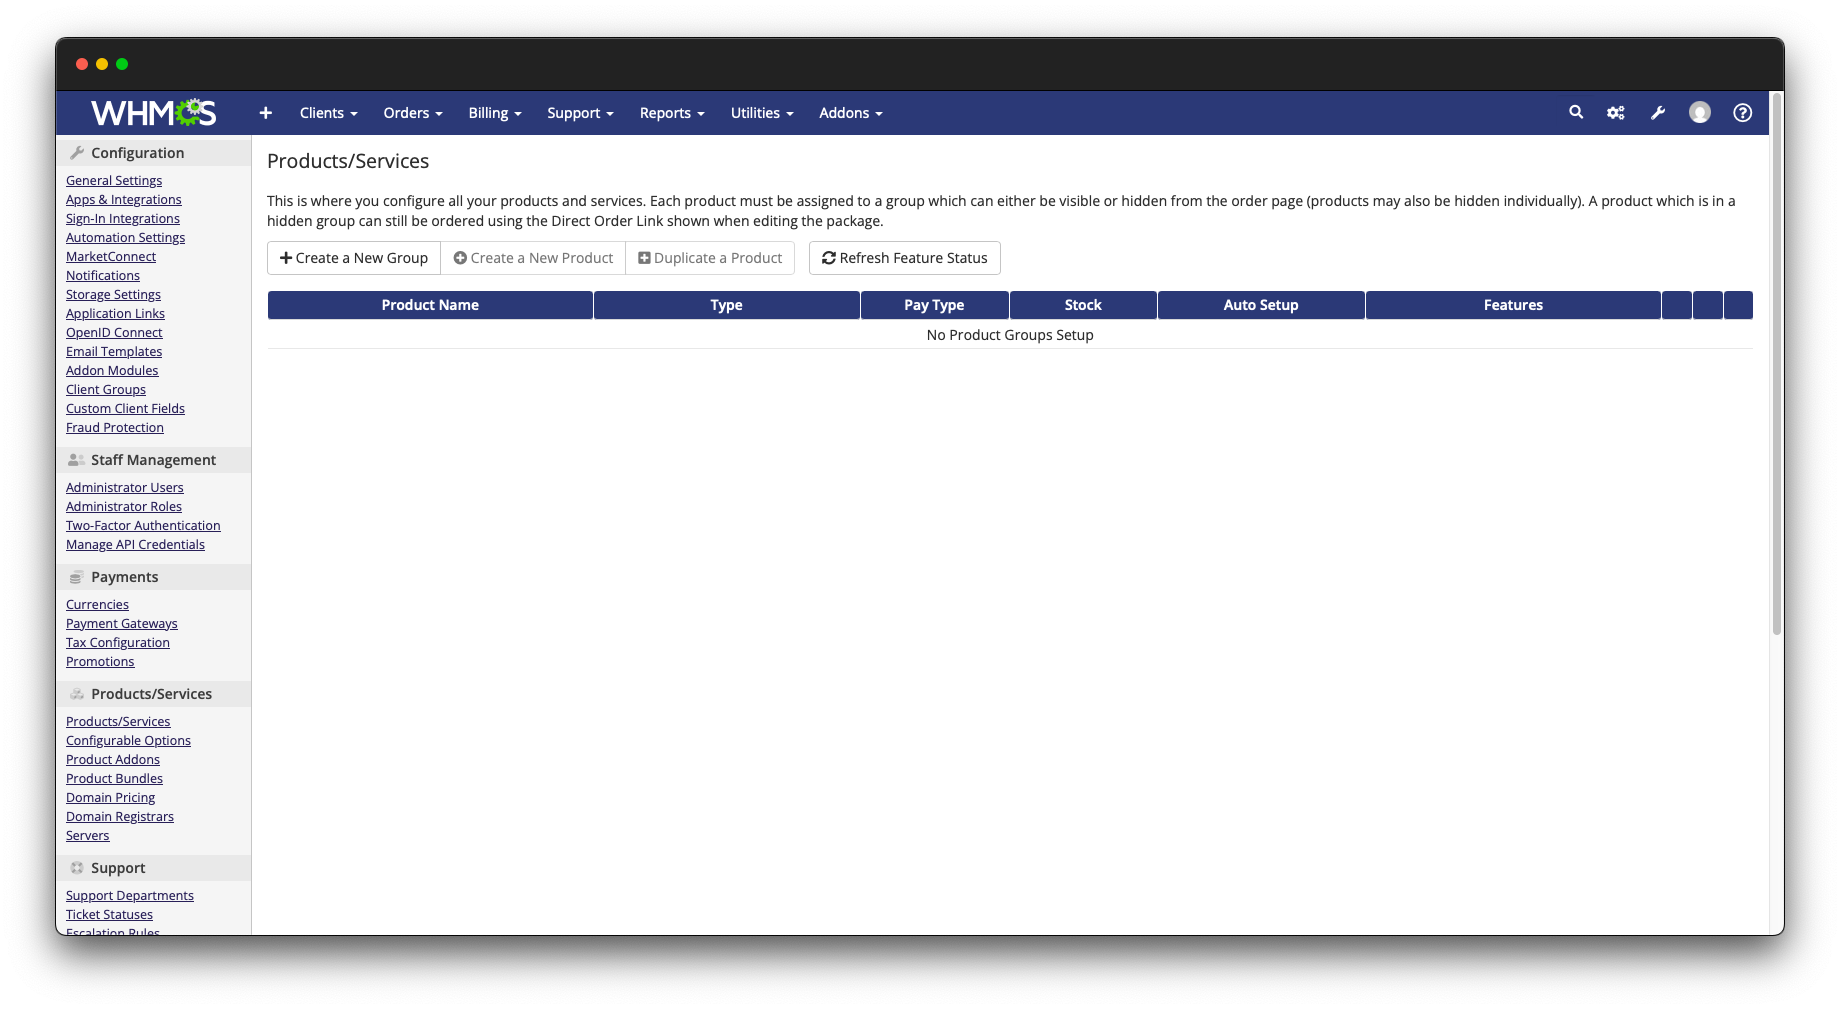
- Click "Create a New Group". Enter a Group name and configure it as you require.
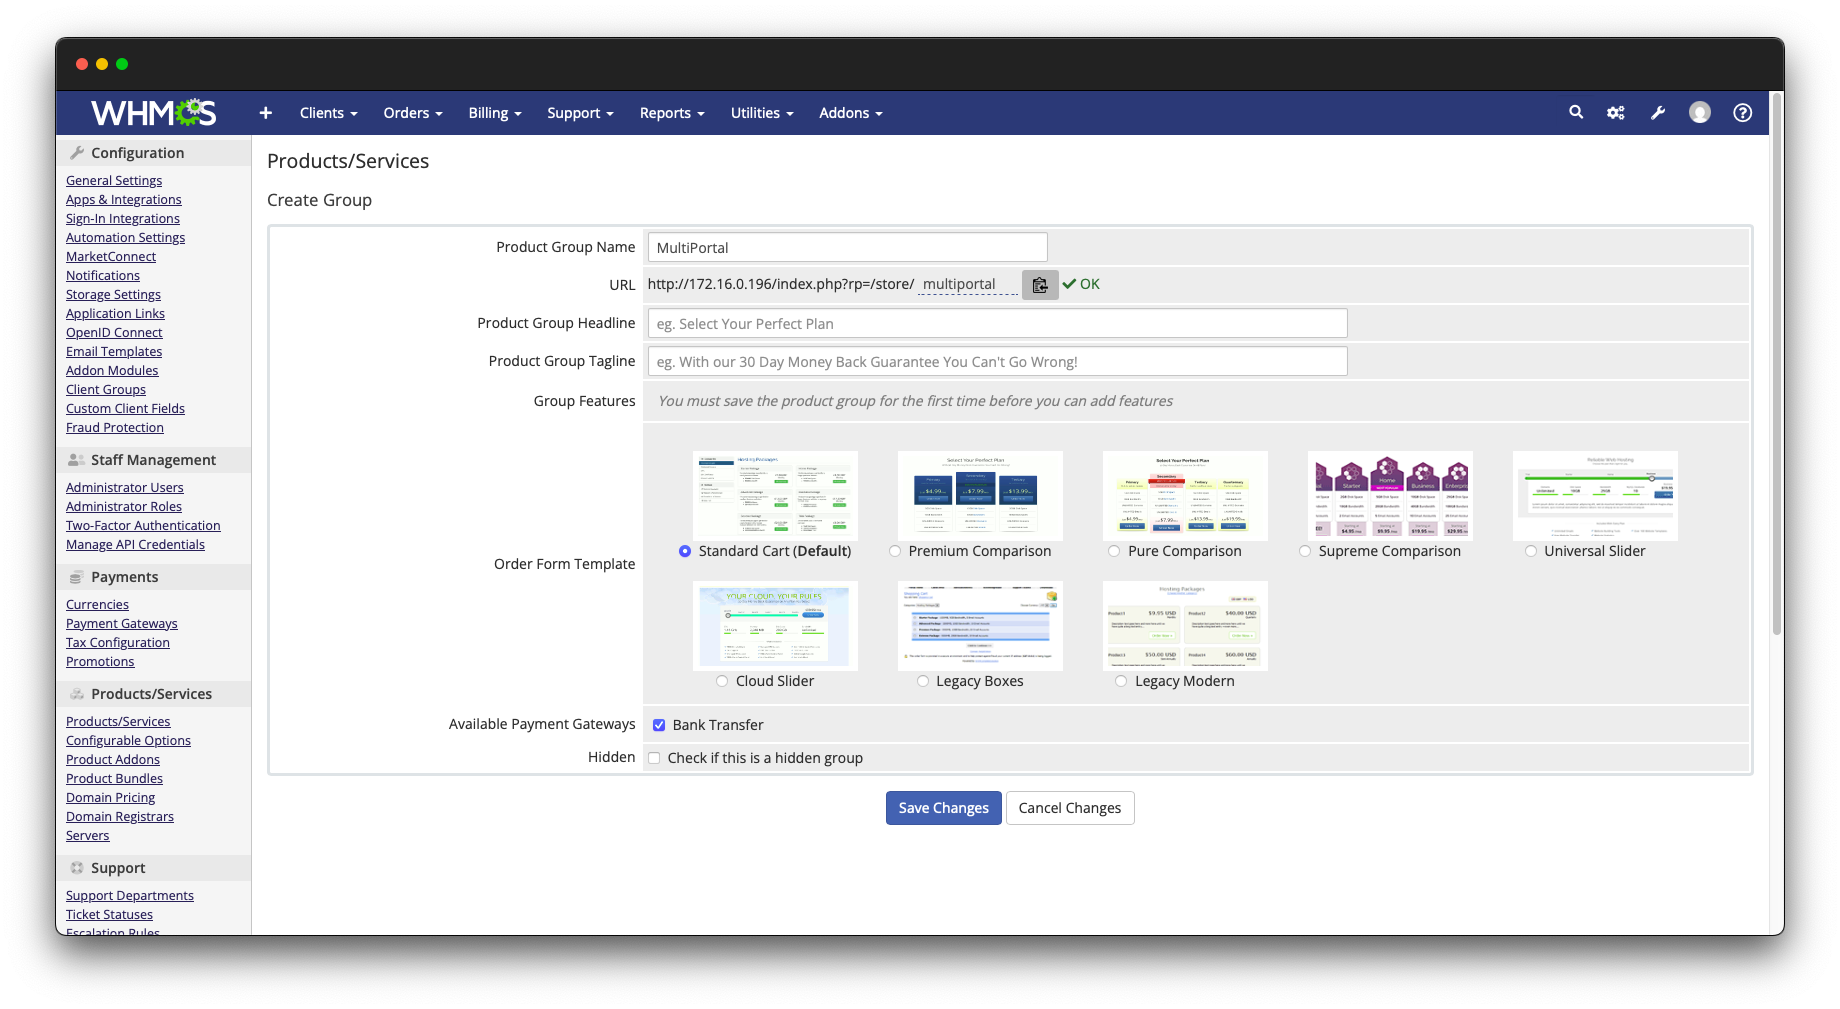
- Click "Save Changes" and then click "Back to Product List"
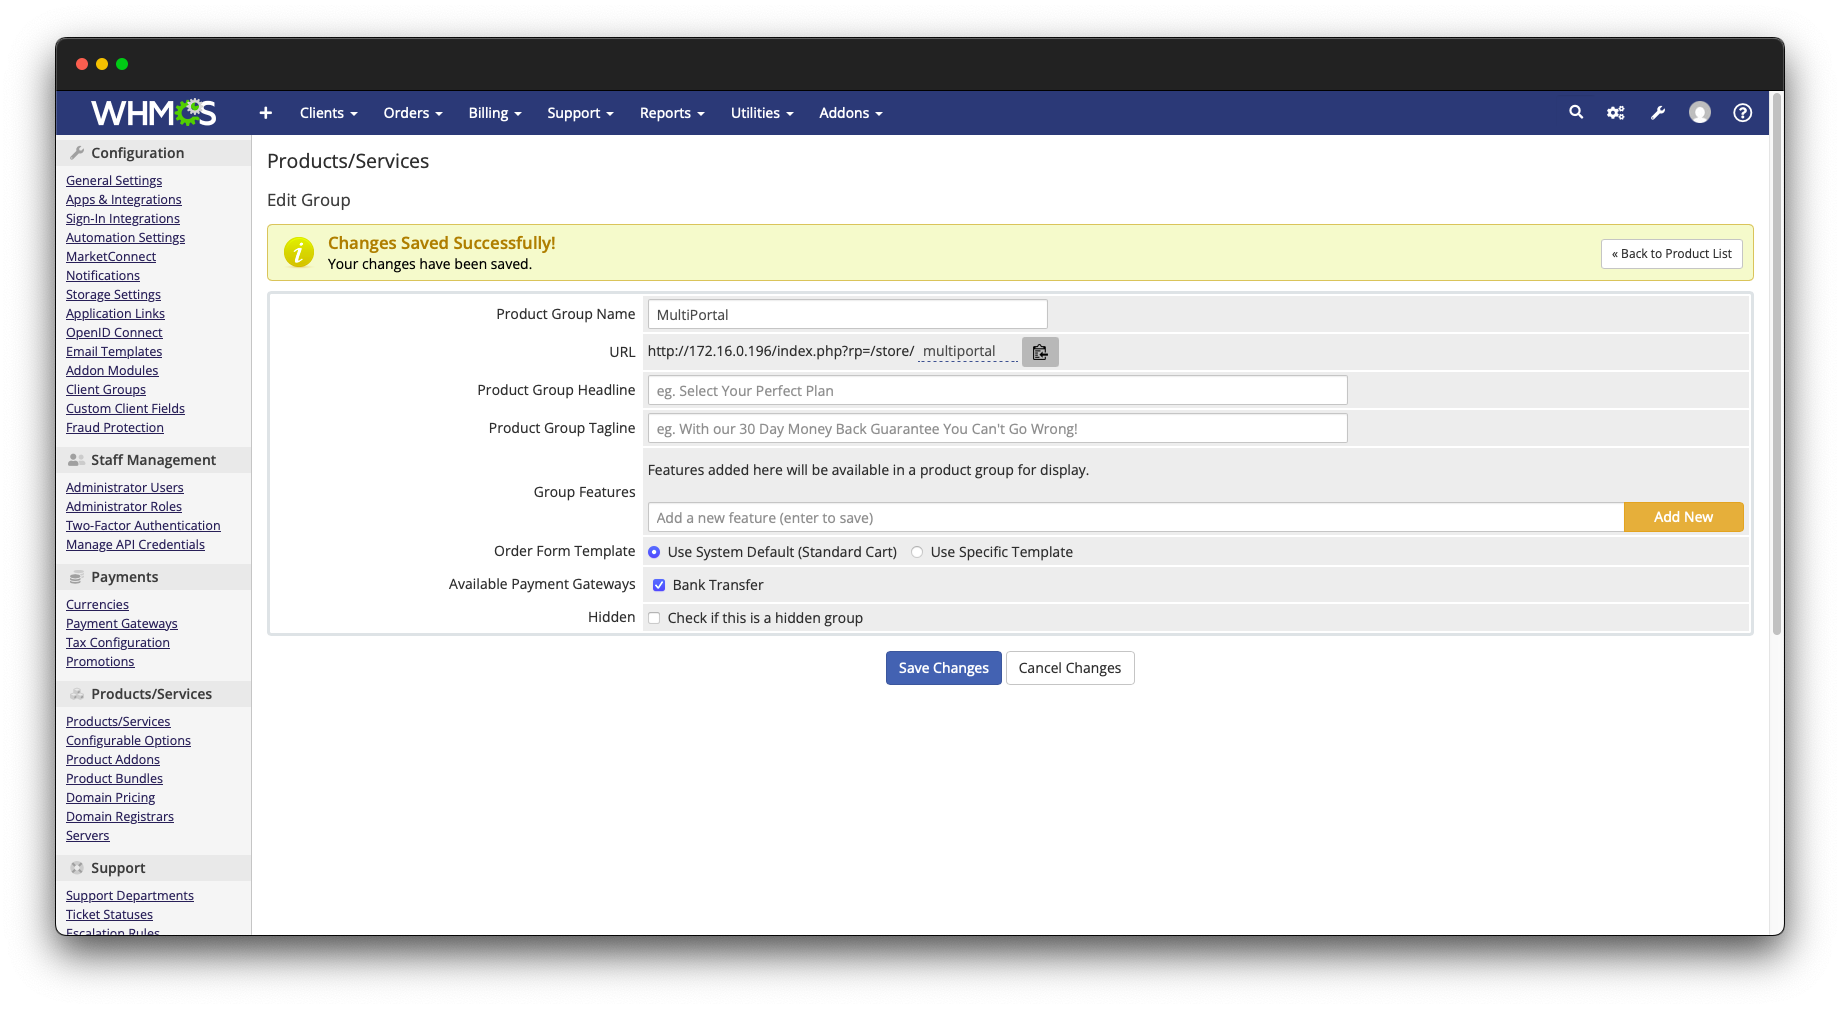
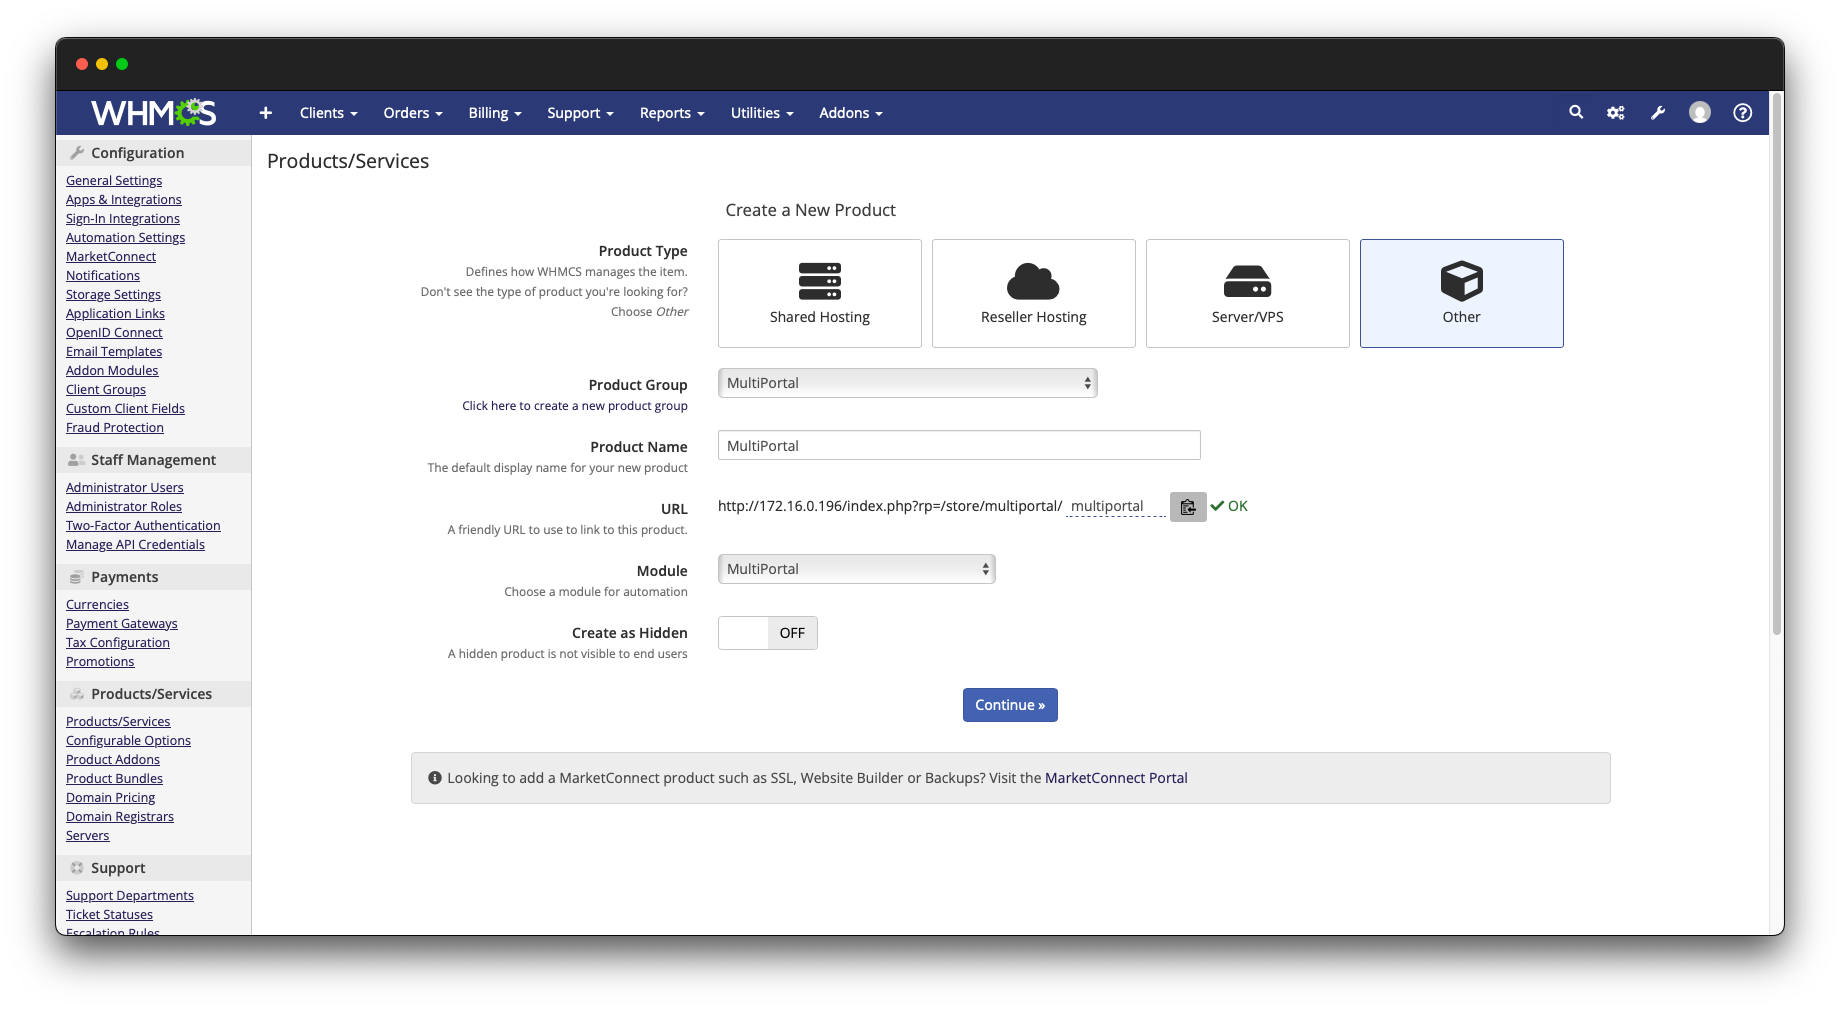
- "Click "Create a New Product"
- Product Type: Select "Other"
- Product Group: Select the previously created Product Group
- Product Name: Enter a name of your choice
- Module: Select the "Multiportal" module
-
Click "Continue"
-
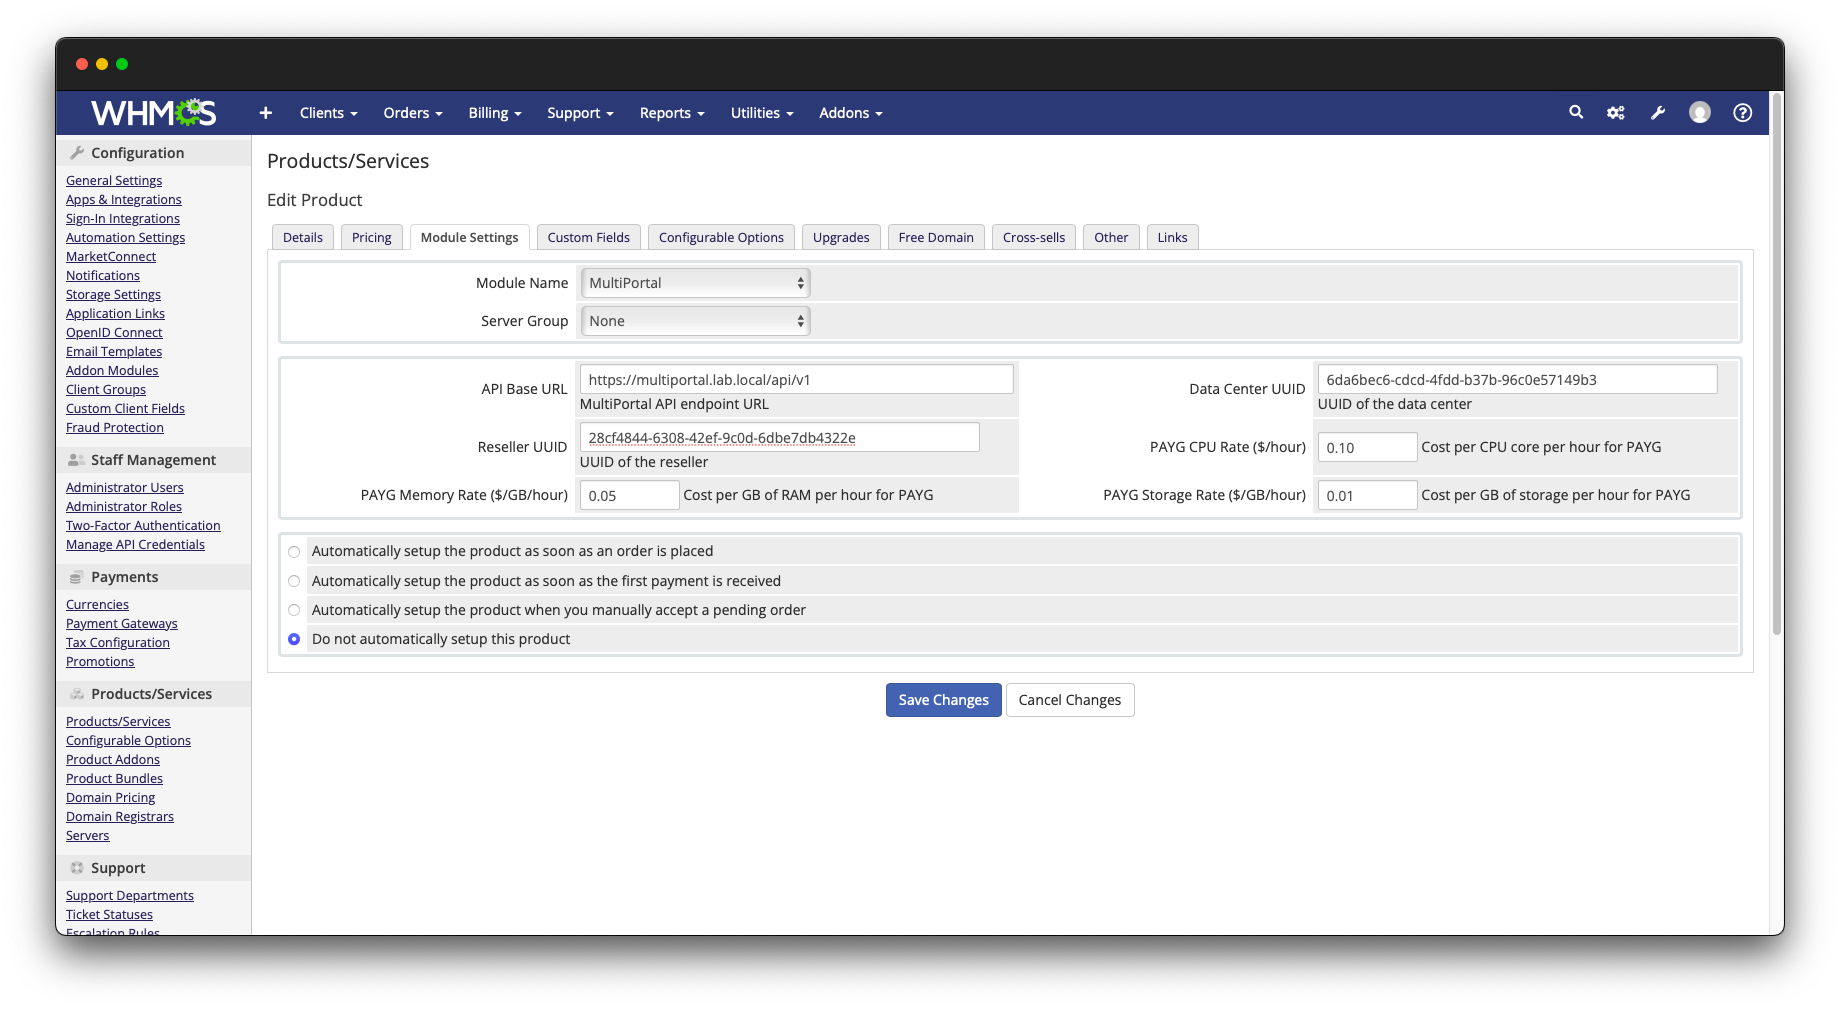
Click on the "Module Settings" tab. Add the following items and then click "Save Changes".
- API Base URL: The API URL of your MultiPortal instance. If you access your Multiportal instance by https://cp.multiportal.io then in here you should type: https://cp.multiportal.io/api/v1.
- Reseller UUID: In MultiPortal, browse to, or create a Reseller. From the URL string, take the UUID. The URL string will look something like: https://cp.multiportal.io/reseller/view?id=28cf4844-6308-42ef-9c0d-6dbe7db4322e so the UUID to enter here is: 28cf4844-6308-42ef-9c0d-6dbe7db4322e
- Data Center UUID: In MultiPortal, browse to Settings > Data Centers and click on a Proxmox instance. Take the UUID from the URL string. The URL string will look something like: https://cp.multiportal.io/data-center/view?id=6da6bec6-cdcd-4fdd-b37b-96c0e57149b3, so the UUID to enter here is: 6da6bec6-cdcd-4fdd-b37b-96c0e57149b3
If you wish to use PAYG VDCs, you can also set the hourly rate of CPU, RAM and Storage on this screen
¶ Create First Order
- Select a sample client and ensure the "Product/Service" is the product we created in the previous steps. Click "Submit Order".
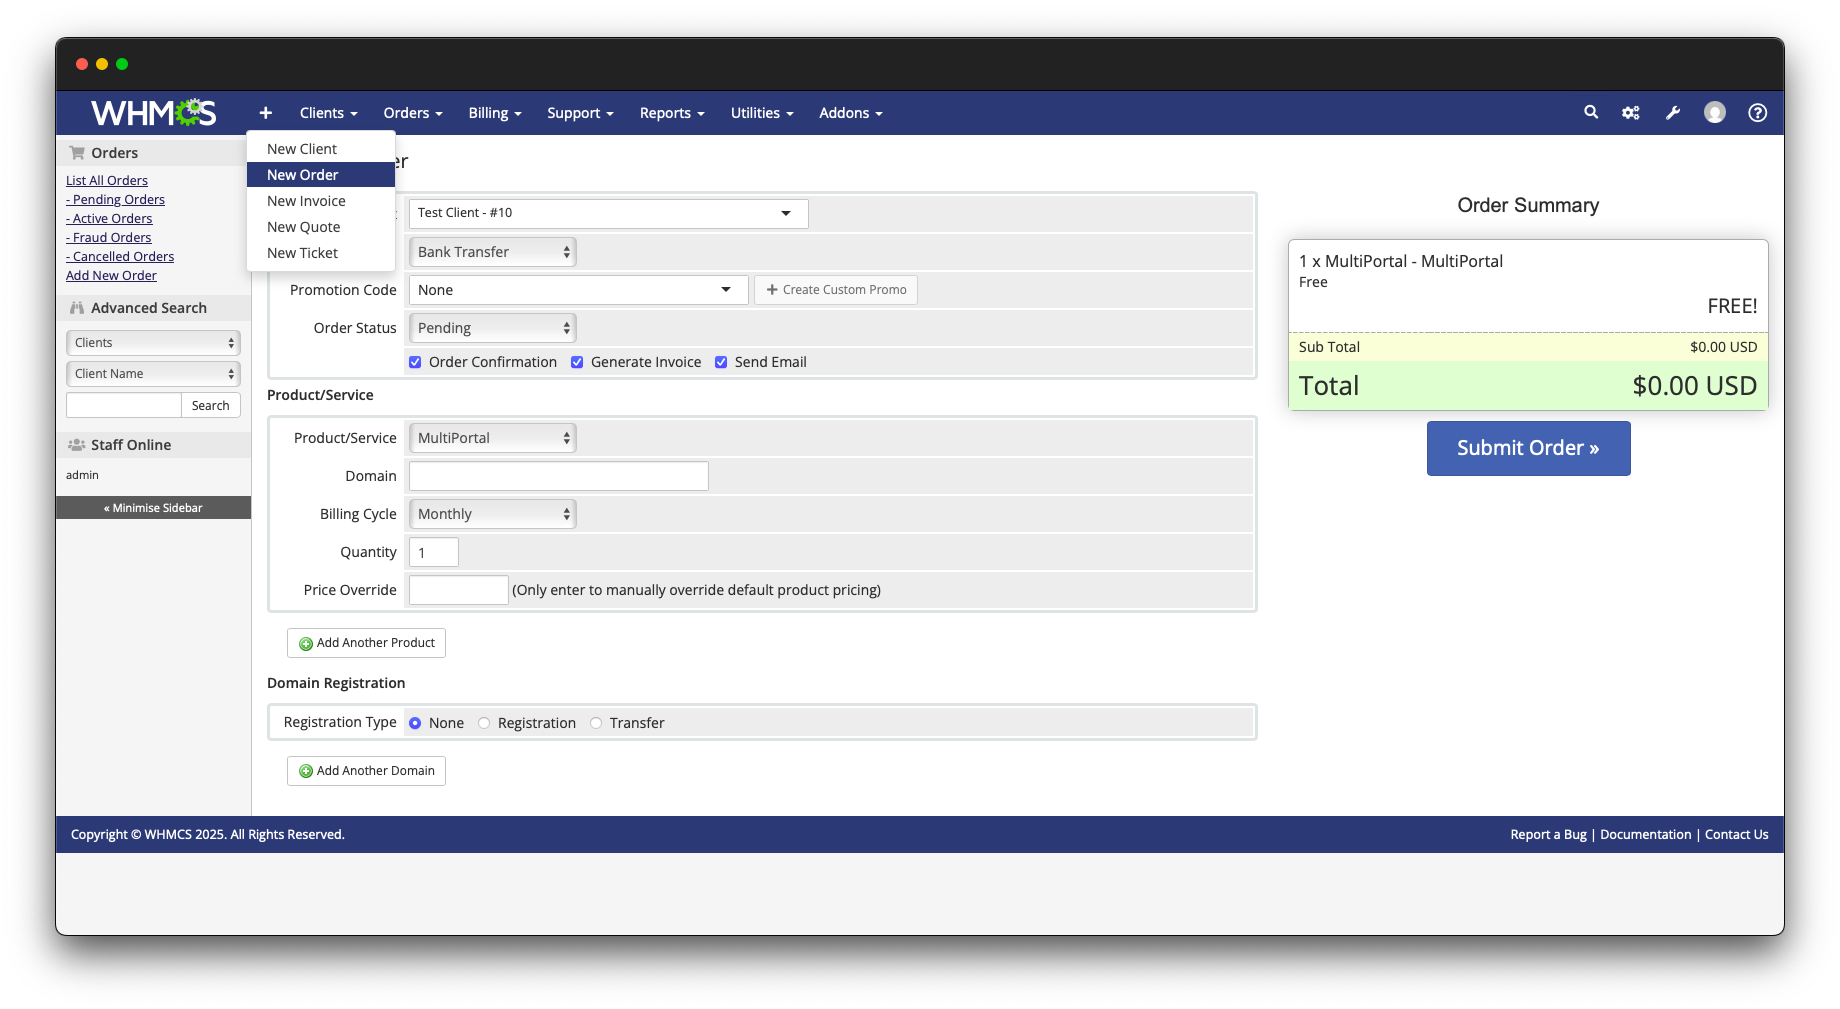
- Do not accept the order. Click the text called "Product/Service" which will take you to this specific order.
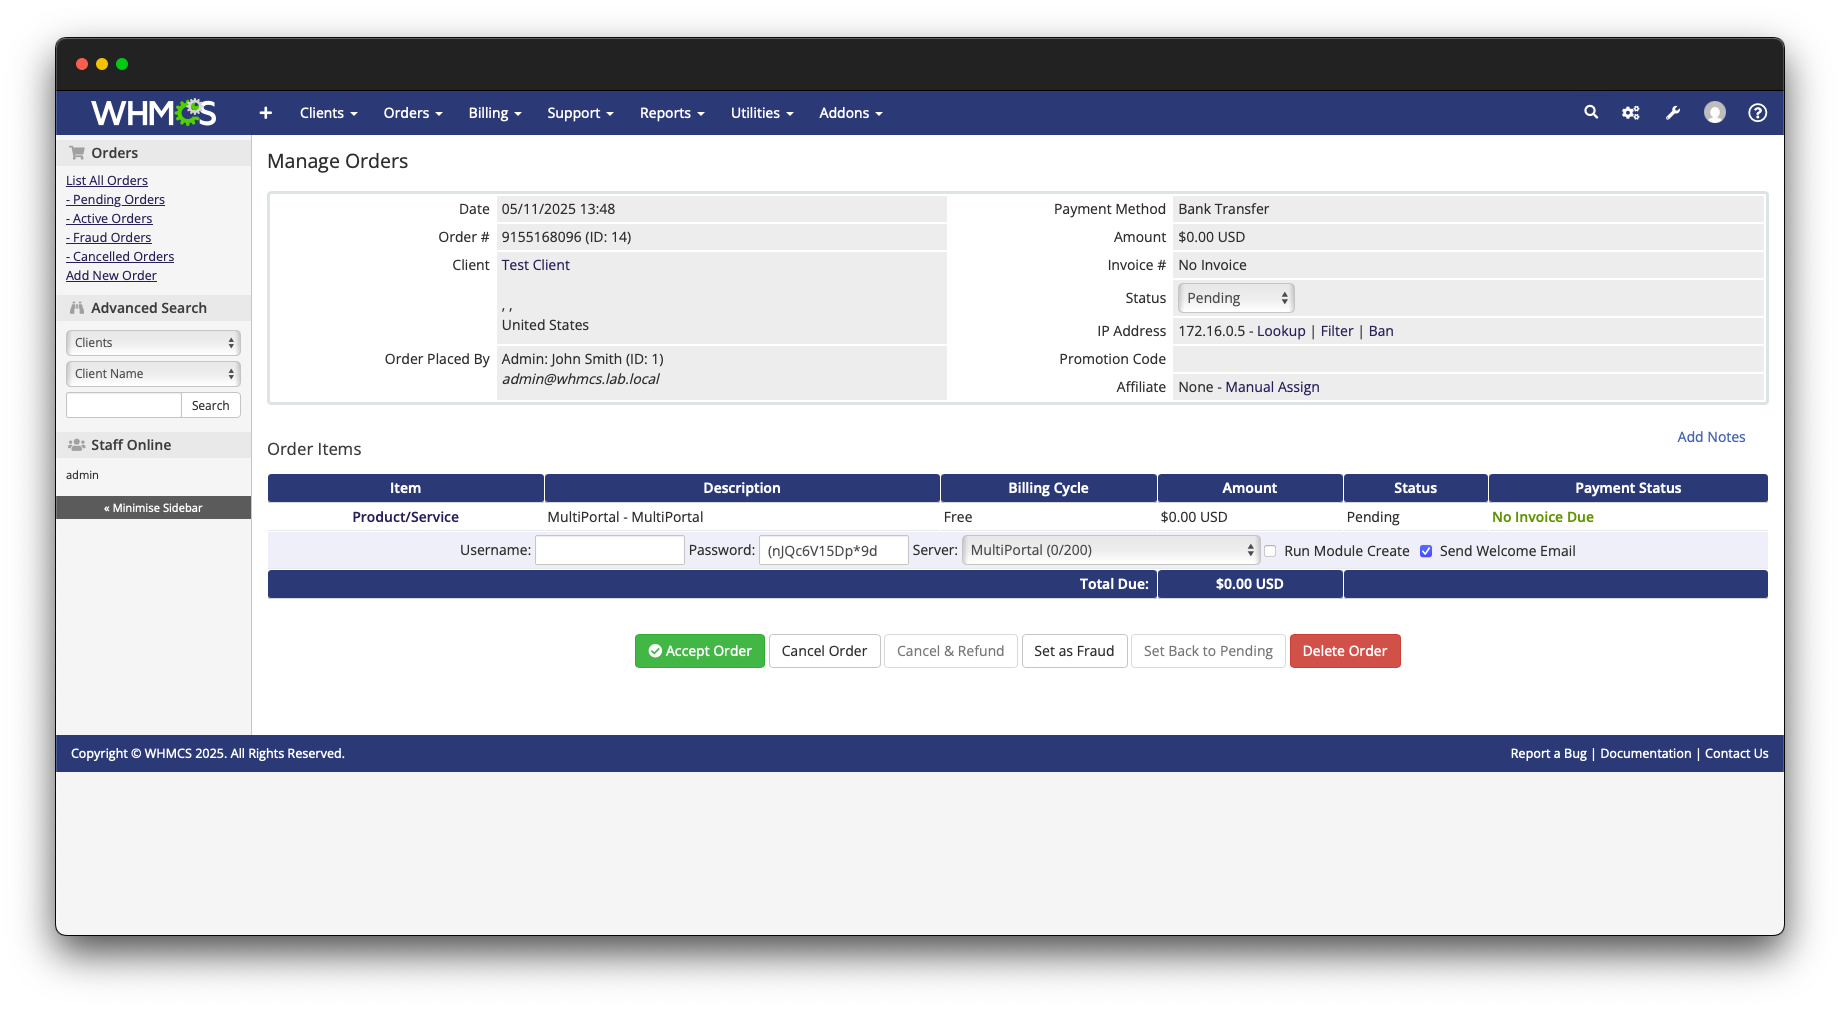
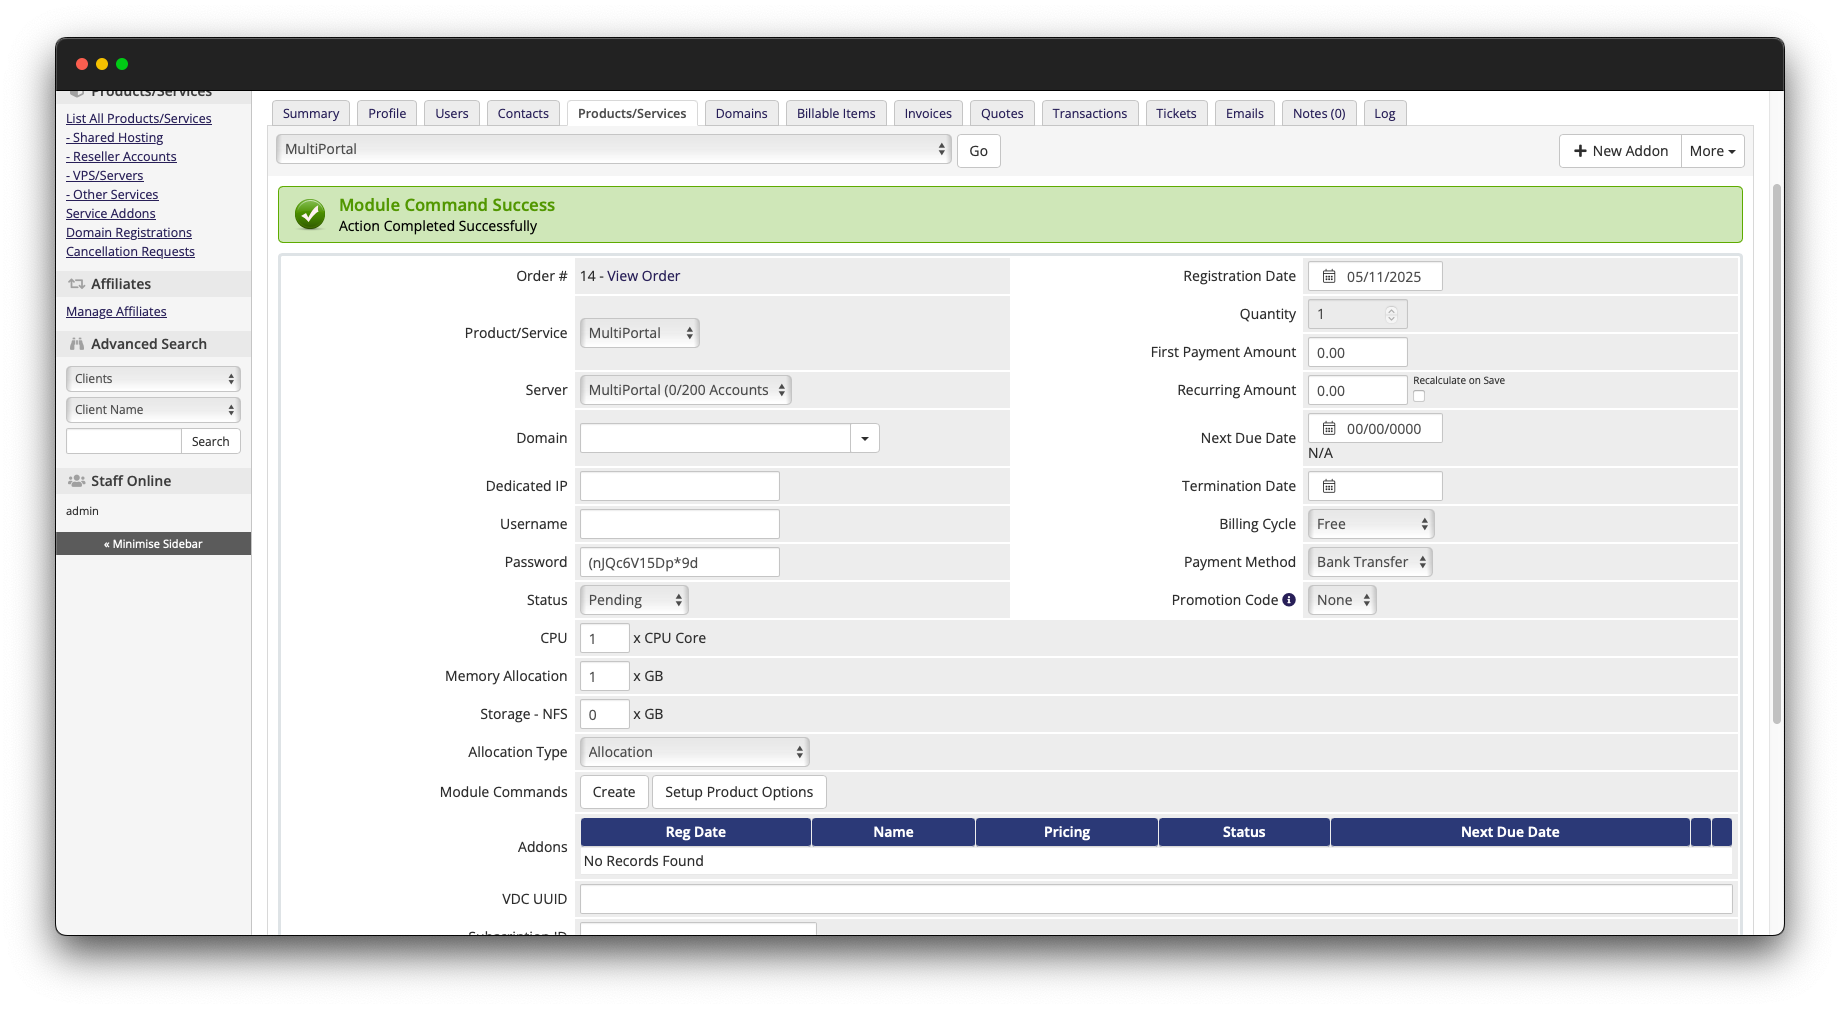
- Click the "Setup Product Options" button under the "Module Commands" section of the order.
-
For this first order, manually set the CPU, Memory Allocation, Storage (for each of your Storage Policies) and the VDC allocation type (Allocation or PAYG). Click "Save Changes".
-
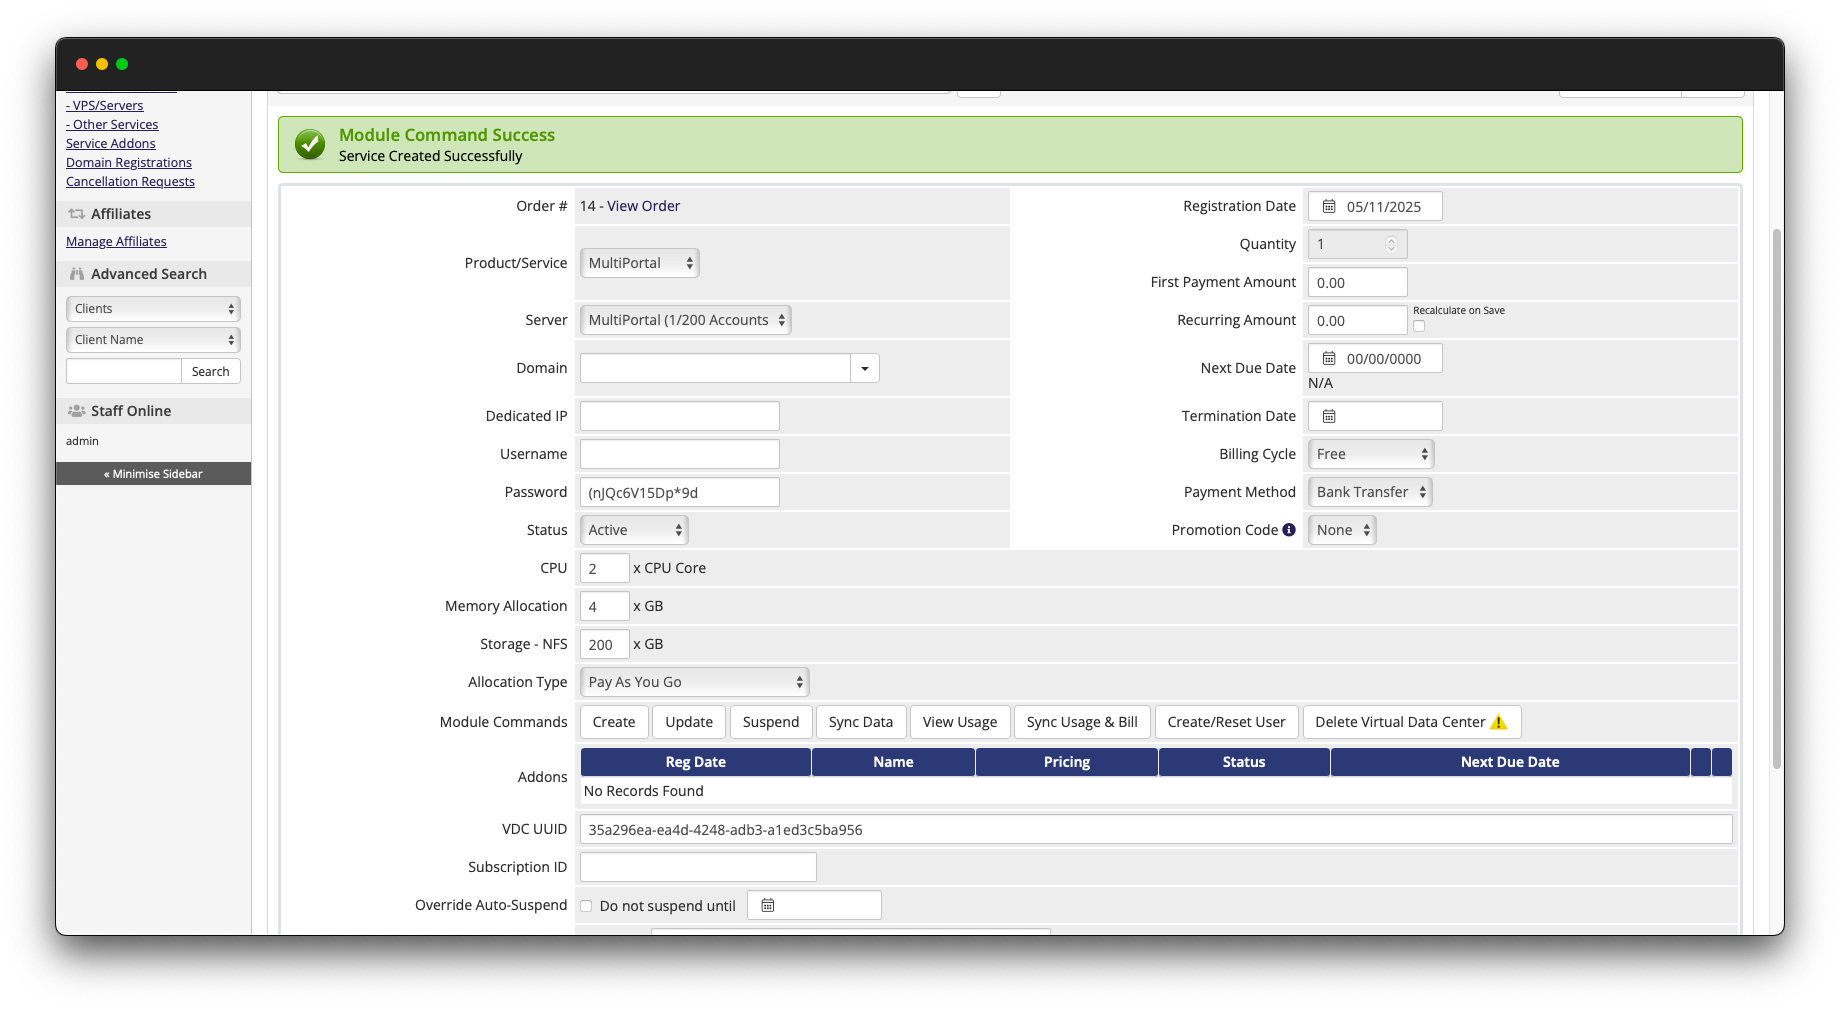
Click the "Create" Module Command.
You will now see a VDC UUID in the created order, that will relate to a newly created VDC inside of MultiPortal
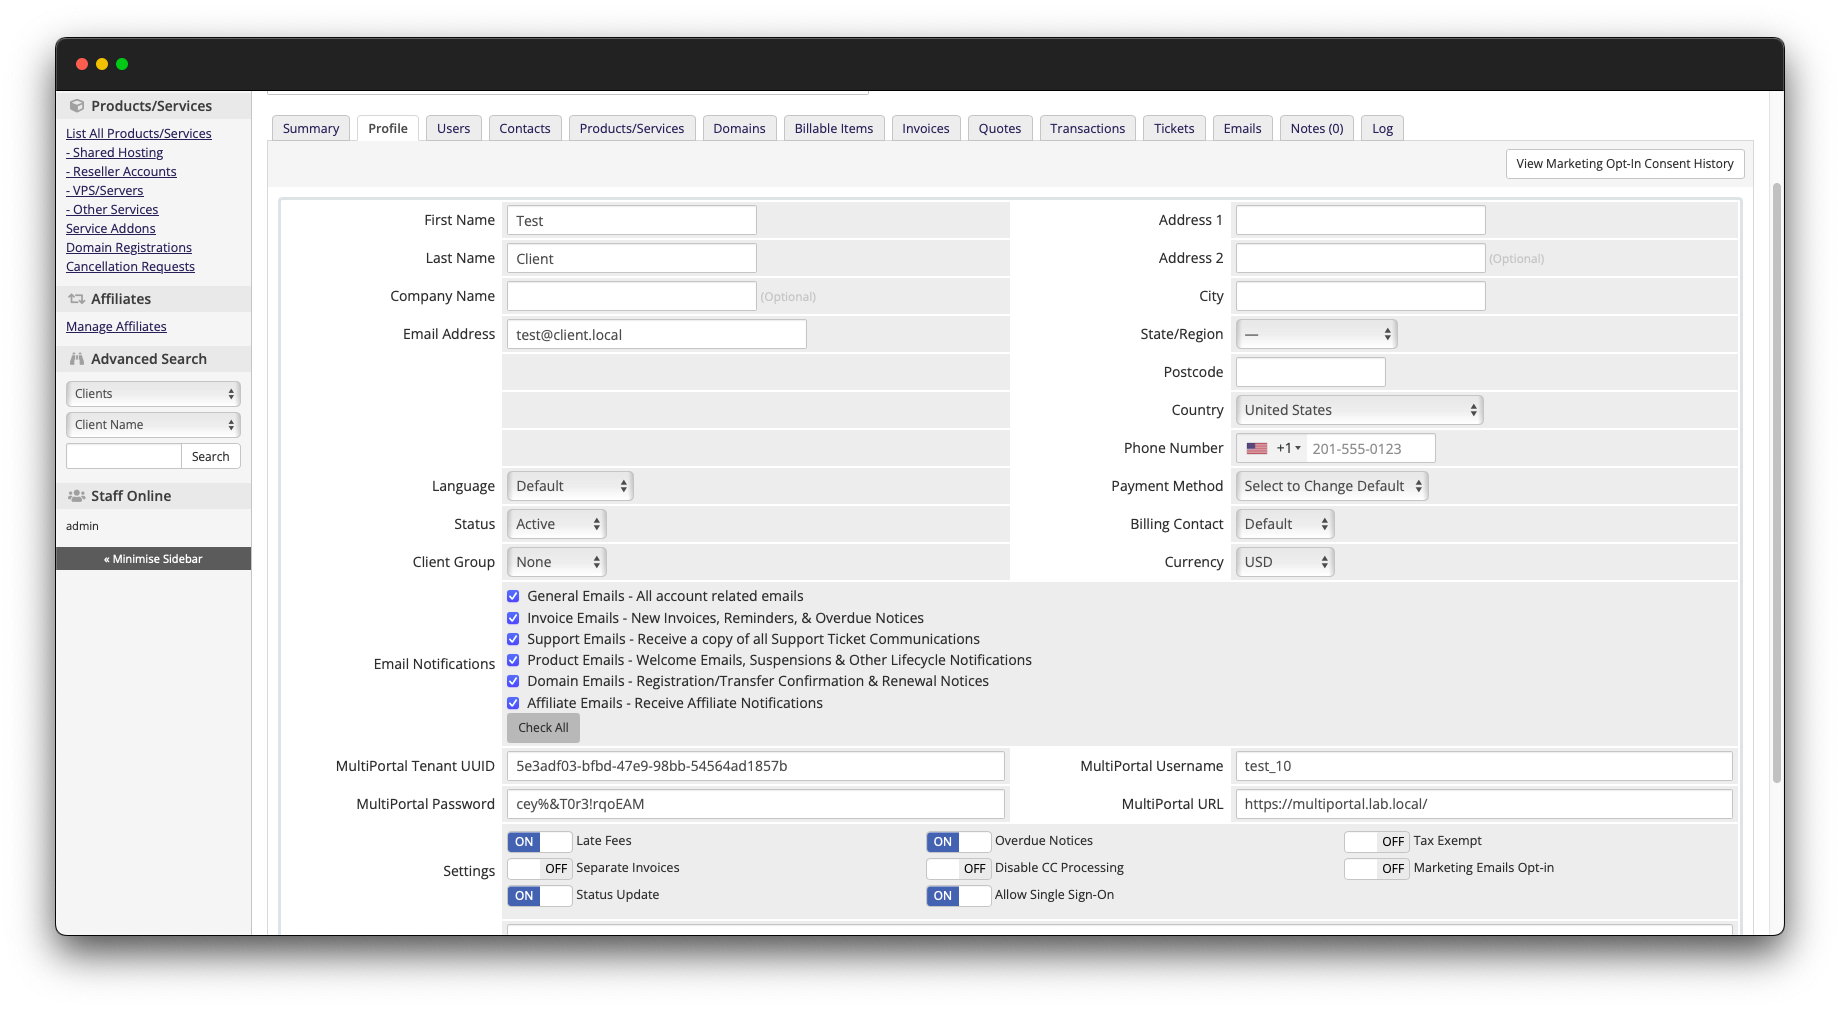
- Browse to the Client Profile in WHMCS, you will also notice that it has set the MultiPortal Tenant UUID as well as the Username and Password that your created user would use to log into MultiPortal directly. These can be used when configuring service activation emails in WHMCS.
- You can now configure specific pricing within the automatically created "Configuration Option Group" (Configuration -> System Settings -> Configurable Option Groups), enable automatic order processing, payment processing to allow your customers to place orders and automatically setup access in MultiPortal.